

Yellow Plant Leaves Explained and How to Fix the Cause
Nov 02, 2026
Why are my plant leaves turning yellow? Usually it means the plant's water, light, or nutrient supply got out of balance and the green pigment, chlorophyll, is breaking down faster than the plant can replace it. That breakdown shows up as yellow because without chlorophyll, other pigments already in the leaf become visible. For apartment growers in Homestead dealing with strong sun through a window or AC vents drying out the air, this is one of the most common complaints plant owners bring up.
Four triggers cause almost every case of yellowing: too much or too little water, not enough or too much light, a missing nutrient, or a pest feeding on the leaf. Overwatered roots suffocate and stop feeding the plant, while underwatered roots simply can't pull up what the leaf needs. Low light slows chlorophyll production, and a nitrogen or magnesium shortage in the soil shows up first in the oldest, lowest leaves. Catching which pattern you're seeing, whole leaf versus veins only, old growth versus new growth, bottom of the plant versus top, stops the yellowing from spreading to the rest of the plant.
Table of Contents
What Your Leaf's Yellow Pattern Is Telling You
Bottom leaves turning yellow first, while the top of the plant stays green, usually points to overwatering or simple old age. A leaf that's done its job for a year or two will yellow and drop on its own, and that's normal shedding, not a problem to fix.
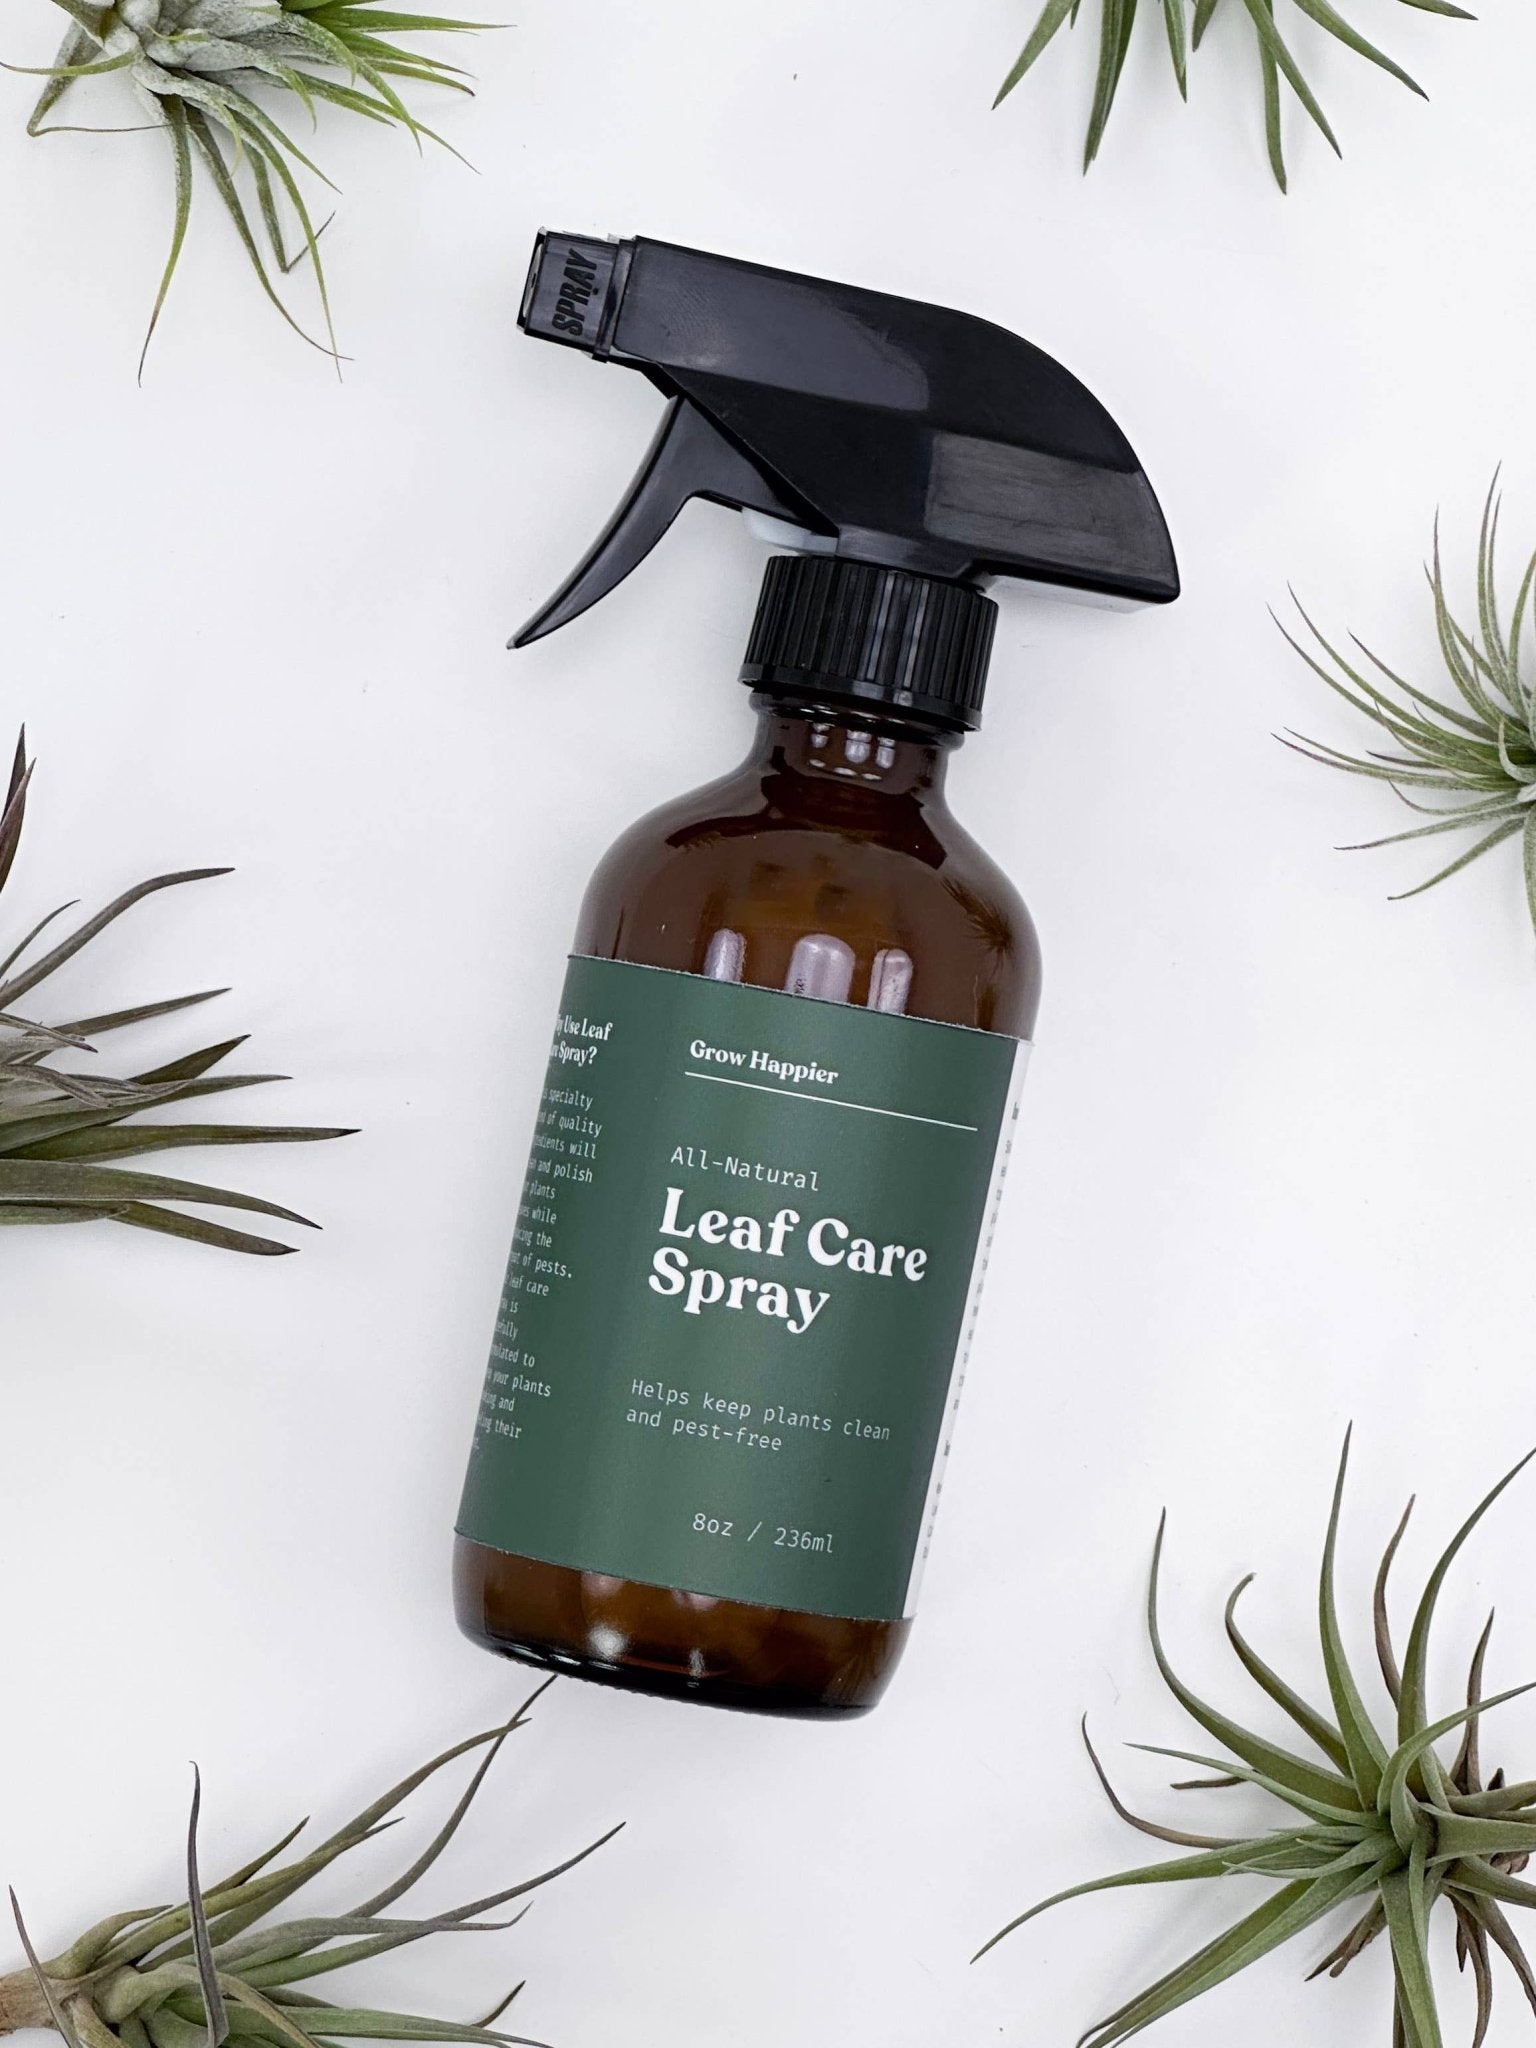
Plant Leaf Care Spray - 8oz
Yellow leaf tissue with the veins still bright green is a classic sign of a nutrient deficiency, often iron or magnesium. This pattern, called interveinal chlorosis, shows up because the plant can't move that nutrient into new tissue fast enough, and a slow release fertilizer timed to the growing season can correct it before the whole leaf fades.
Crispy, brown-edged yellow patches usually mean underwatering or too much direct sun, especially on a west-facing windowsill in Homestead. Humidity here swings hard between AC-dried indoor air and muggy outdoor afternoons, so leaf edges dry out faster than growers in drier climates expect.
- Bottom leaves, whole leaf yellow: overwatering or natural aging
- Yellow leaf, green veins: nutrient deficiency, often iron or magnesium
- Crispy yellow edges: underwatering or direct sun exposure
- New growth yellow, old growth green: mobile nutrient shortage like nitrogen
Matching the pattern to the list above narrows the cause before you touch the watering can or the fertilizer bag.
Watering Mistakes Behind Yellow Leaves
Overwatering and underwatering both end in yellow leaves, but the cause inside the pot is the opposite problem. Soggy roots can't breathe, so they rot and stop pulling up nutrients, which turns leaves yellow from the base up. Dry roots can't pull up anything at all, so leaves go yellow with curled, crispy edges instead of soft yellow patches.
Telling the two apart comes down to touch, not guessing. Stick a finger two inches into the soil before you water again: wet and cool means wait, dry and crumbly means go. Water only when the top two inches are dry, not on a fixed weekly schedule, since pot size and plant type change how fast that happens.
- Overwatered leaf: soft, yellow at the base, sometimes mushy stem
- Underwatered leaf: crispy, yellow-brown at the tips and edges
- Overwatered soil: stays wet past 5-7 days after watering
- Underwatered soil: dry and pulling away from the pot sides
Homestead's humid air works against you here. Thick, muggy outdoor air keeps soil wet longer than it would in a drier inland apartment, so pots that look dry on top can still be soaked underneath. Readers dealing with constant wet soil should check the signs laid out in signs you are overwatering your plant before cutting back further.
Light and Temperature Stress on Leaves
Too much sun, too little sun, or a sudden blast of cold air can all turn leaves yellow, just in different patterns. A south-facing window in Homestead can scorch leaves by early afternoon, leaving pale or bleached yellow patches on the side facing the glass. Low light does the opposite: it slows chlorophyll production across the whole leaf, giving a dull, even yellow instead of a scorched patch.
AC vents cause a third kind of stress that's easy to miss. Tropical plants like pothos and monstera drop leaf temperature fast when cold air hits them directly, and that shock shows up as yellow patches near the vent-facing side of the plant. Keep plants at least three feet from a direct AC vent to avoid this kind of localized yellowing.
- South-facing window, no curtain: scorch risk by early afternoon
- North-facing window or back of a room: slow, overall pale yellowing
- Within three feet of an AC vent: cold shock on one side of the plant
- Rotated a quarter turn weekly: even light exposure, fewer lopsided yellow spots
Rotating a pot a quarter turn once a week spreads out sun exposure so one side doesn't take all the damage. If leaves keep yellowing despite moving the pot, a short session with plant consultations can rule out a spot-specific issue faster than trial and error.
Nutrient Gaps That Starve Your Plant
A nutrient deficiency shows up as yellowing with a pattern tied to which nutrient is missing. Nitrogen is mobile inside the plant, so a shortage pulls it from older, lower leaves first and sends it to new growth, leaving the bottom of the plant yellow while the top stays green. Iron is not mobile, so an iron shortage yellows new growth instead, with the veins staying green while the tissue between them fades.
Tap water adds a slower problem on top of this. Minerals and salts in tap water build up in the soil over months and block roots from absorbing the nutrients that are already there, even when the soil looks fine. Flushing the pot with plain water every two to three months clears built-up salts before they cause yellowing that looks like a feeding problem but isn't.
- Nitrogen short: old, lower leaves yellow first, whole leaf affected
- Iron short: new growth yellow, veins stay green
- Magnesium short: older leaves yellow between veins, edges often stay green
- Salt buildup: yellowing despite regular feeding, soil crust visible on top
A slow release fertilizer avoids the swings that cause this in the first place, since it feeds the plant steadily instead of dumping nutrients all at once and then running dry for weeks. That steady supply keeps leaves from bouncing between starved and overfed, which is the cycle that triggers a lot of avoidable yellowing.
Pests and Dirty Leaves Causing Yellow Spots
Yellow speckling on a leaf's top surface, with no change on the underside, usually means spider mites are feeding from below. These pests are tiny enough to miss until the speckling spreads, and by then they've often moved to nearby plants too. Dust buildup causes a different kind of yellowing by physically blocking light from reaching the leaf surface, which matters most on broad-leafed plants like pothos and monstera that depend on full sun exposure to feed themselves.
Wiping leaves down every two weeks catches both problems early. Check the underside of leaves, not just the top, since mites and scale insects feed there first and stay out of sight longer.
- Fine yellow speckles on leaf tops: spider mite feeding damage
- Sticky residue or small brown bumps: scale insects
- Dull, dusty leaf surface: reduced light absorption, not a pest
- Webbing between leaves or stems: advanced spider mite infestation
A neem oil leaf spray, like the Plant Leaf Care Spray, cleans dust and residue off the leaf while deterring the mites and scale that cause the speckled yellowing in the first place. Catching an infestation at the speckle stage keeps it from spreading to the rest of the plant.
Choosing Between Watering Less, Feeding, or Cleaning
Most plant owners treat yellow leaves as a single problem and throw every fix at it at once: less water, more fertilizer, a wipe-down, maybe a new spot by the window. Stacking all three in one week makes it harder to tell which one worked, and overfeeding a plant that was already stressed from drafts can push it further into shock. Pick one fix at a time and give it a week before adding another.
Check the soil first, then the light, then the leaves themselves, in that order, before picking a product or changing a routine. Soil tells you if water is the issue, light tells you if the spot is wrong, and only after both check out should pests or nutrients become the suspect. Skipping straight to fertilizer when the real issue is a drafty spot near an AC vent just adds a second stressor on top of the first.
| Situation | Right fix | Cost to you |
|---|---|---|
| Soil checks out, leaves still pale over time | Slow Release Fertilizer | $16.49, feeds for a year |
| Dust or faint speckling on leaf tops | Leaf cleaning with neem oil spray | Weekly wipe-down, 10 minutes |
| Multiple issues at once: feeding, pests, shine | Plant Care Bundle | $46, replaces buying each separately |
Apartment dwellers in Homestead have a diagnosis problem on top of the fix problem. Tinted windows cut down how much light actually reaches the leaf, so a spot that looks bright to your eyes can still be acting like low light for the plant, and AC drafts can mimic the look of underwatering even when the soil is damp. If the soil and light both check out and the leaves still look dull or speckled, a routine that feeds the roots on a schedule and keeps the leaf surface clean prevents the yellowing from coming back month after month.
Check the Bottom Leaf Before You Touch Anything Else
Go look at your plant right now. Find the lowest leaf, press a finger two inches into the soil, and write down what you see: color, pattern, and whether the soil came back wet or dry. That single check tells you which of the five causes above you're actually dealing with, before you water, feed, or wipe a single leaf. Homestead growers who need the slow release fertilizer or the leaf spray to match what they find can get both at Runo Plants LLC, 19605 sw 334th street, Homestead, ST 33034. Questions about which one fits your plant go to 7188440045 or support@runoplants.com. Match the pattern first, then pick the one fix, then give it a week to work.
Yellow Leaf Questions Plant Owners Ask
Should I cut off a yellow leaf or let it fall on its own?
Cut it off once it's more than half yellow, since the plant can't turn that tissue green again and it's just pulling energy for no reason. Use clean scissors and snip close to the stem. If only the tip or edge is yellow, leave it, since the rest of the leaf is still feeding the plant through photosynthesis.
Can a plant recover once a leaf has turned fully yellow?
No, a fully yellow leaf will not turn green again, but the plant itself can recover once you fix the cause. New growth will come in healthy if the roots, light, and nutrients are back in balance. Think of the yellow leaf as a closed case, not a sign the whole plant is failing.
How long does it take for a plant to bounce back after I fix the cause?
Most houseplants show new, healthy growth within two to four weeks of fixing the real problem, though existing yellow leaves stay yellow. A nutrient fix shows up fastest since a slow release fertilizer keeps feeding the roots without another trip to the store. Watering and light fixes take a bit longer since the plant has to rebuild its root system first.
Is yellowing after repotting something to worry about?
A few yellow leaves in the two weeks after repotting is normal and comes from root disturbance, not a new problem. The roots need time to settle into fresh soil before they can pull up water and nutrients at full speed. Hold off on fertilizing for about a month after repotting and only step in if yellowing spreads past a leaf or two.