How to Repot Houseplants
Sep 08, 2025
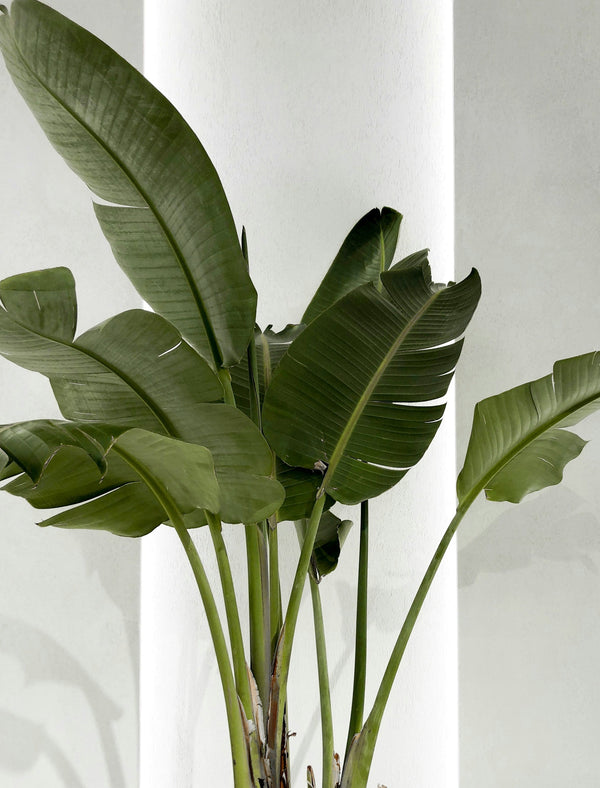
Repotting your houseplants may sound intimidating, but it’s an essential part of keeping your green friends healthy and thriving. The good news? Repotting doesn’t always mean moving your plant into a bigger pot—it often just means giving it fresh soil full of new nutrients.
So whether you’re sticking with your favorite planter or shopping for a new one, here’s everything you need to know to repot successfully.
When to Repot Your Plants
Most plants need to be repotted every 12 to 18 months, depending on how quickly they grow. Slow growers can stay in the same pot for years, but they’ll still benefit from fresh soil. The best time to repot is spring, right before the growing season kicks in.
Look for these signs to know it’s time to repot:
Roots poking through the drainage hole
Roots pushing the plant up and out of the pot
Slower-than-normal growth (not due to winter dormancy)
A plant that’s top heavy and tips over easily
Soil drying out faster than usual
Plant foliage taking up more than 3x the pot space
White salt and mineral build-up on soil or planter
Choosing the Right Size Planter
If you are upgrading pots, avoid going too big. As a rule of thumb:
Tabletop plants: new planter should be no more than 2” larger in diameter
Floor plants: no more than 4” larger in diameter
Small plants: sometimes just 1” bigger will do
Why? Because too much extra soil can hold excess water, which leads to overwatering and root rot. You want to give your plant a little room to grow, not a swimming pool of soil.
What You’ll Need
Your plant
A new planter (optional)
Fresh potting mix
Lava rocks, gravel, or similar (if the new pot doesn’t have drainage)
Step-by-Step Guide:
1. Remove the plant
Gently turn the plant sideways, hold it by the base of the stems, and tap the pot until it slides out. Tug lightly if needed, but avoid pulling too hard on the foliage.
2. Loosen the roots
Massage the root ball gently to loosen it up. Trim away any thin, stringy roots, but keep the thicker, healthier ones. If your plant is root bound (roots circling tightly around the pot), untangle them as best you can and give them a light trim.
3. Remove old soil
Shake off about one-third of the old potting mix. Over time, soil loses nutrients, so fresh mix is key to giving your plant new life.
4. Add fresh mix
If your new planter has no drainage hole, start with a layer of lava rocks or gravel. Then add a layer of fresh potting mix, pressing it lightly to remove air pockets.
5. Replant
Place your plant in the new pot, centered and upright, and fill around it with fresh soil until secure. Don’t pack the soil too tightly—roots need room to breathe.
6. Water & settle in
Even out the top layer of soil, water thoroughly, and let your plant settle into its new home. Remember: you don’t need to fertilize a freshly repotted plant right away. Fresh soil already has what it needs.
Final Tip: Repotting gives your plant the nutrients and space it needs to thrive. With just a little care, you’ll keep your houseplants healthier, happier, and growing strong for seasons to come.